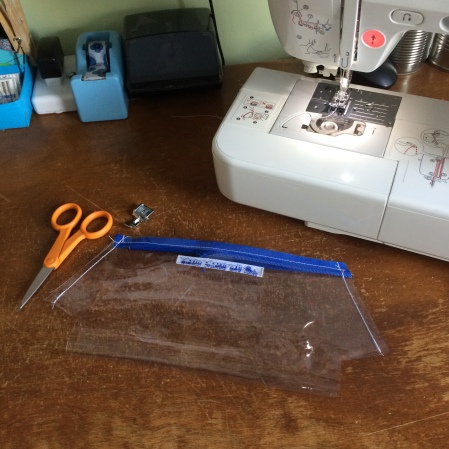
Norm’s coworker asked if I could make her a clear pencil case so she can see all of her colored pens without having to root around too much. And since I already had a small collection of clear vinyl for making wallets, I decided to give it a go.
First, I modified my existing pencil case pattern. Vinyl can be finicky and I needed to make sure it would sit flat, so I didn’t want a seam on the bottom of the bag. My seam allowance is closer to 1/4 of an inch, so I traced my pattern butterfly style, taking off 1/4 inch from the bottom.

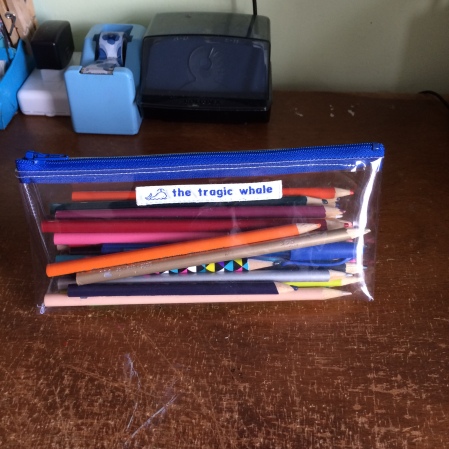
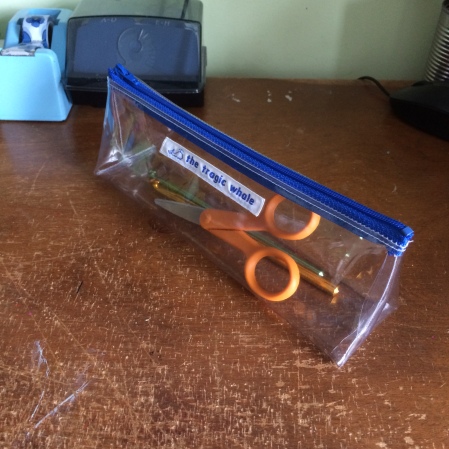
I usually hide my label on the inside but if I was to sew this label inside, you would be able to see the ugly background. I put it right on the front, so hopefully the ugly bit will get covered with pens and pencils.
I don’t know the exact thickness of this vinyl (medium thick?), but it was definitely thick enough to fight me when it was time to turn the bag right side out. But you know what? I have a space heater. I sat it in front of the heater for a couple of minutes and then it was TOO malleable and I thought I was going to rip it! Then I had to let it cool down, and it was too fighty again! It was a PROCESS. But I got it. I turned it out and it looked fly AF.

Voila! I didn’t top stitch the zipper edge like I do on every other bag I make, and at fist I was like, “This is fine!” But then it was puckering weird when I opened it so I pulled all the seams out and went back to add the top stitching. You can see the line get crooked towards the right side- I didn’t want to take the zipper off so I just pushed it under the needled as far as it would go. In other words, this one is mine to keep.
I decided to try a slim one next, and it came out so good! The zipper top stitch was on point. I used an iron to relax the bumps out of the vinyl before sewing it up, which made it easier to work with. And then, when I was turning it right side out, I ripped it. Just the tiniest bit, near the corner, on the bottom of the bag. And what did I do? I said, “Ooh, I’ll just melt this with a lighter and stick the pieces together!” Except the pieces did not stick together. The sides of the tiny rip shrunk, and the rip turned into a hole. So, this pencil case is also mine to keep.
But I made a bunch! And all the other ones came out great, without any rips or weird puckering. I had so much fun working on these that I actually worked through my clear vinyl collection and don’t have any left. As you might imagine, they don’t photograph super well so I don’t know if I’ll add them to my Etsy shop or just save them for in-person selling.
If you have questions about this project, or are interested in seeing a full How-To, please let me know!


0 Responses to “Clear Pencil Case Project”